Hardwood floors are a timeless and elegant choice for homes, offering durability and a classic aesthetic. Installing hardwood floors can be a significant investment, but the result is a versatile and long-lasting flooring option that enhances any living space. This guide will walk you through the essential steps and considerations involved in hardwood floor installation, ensuring a flawless finish and lasting performance. Whether you’re planning a DIY project or hiring professionals, understanding the process will help you make informed decisions and achieve the best results.
Choosing the Right Hardwood Flooring
Selecting the appropriate type of hardwood flooring is crucial for both aesthetics and functionality. Here are some factors to consider:
- Wood Species: Choose from popular species like oak, maple, or cherry, each offering unique grain patterns and hardness levels.
- Finish Type: Decide between prefinished or unfinished wood. Prefinished wood is convenient, while unfinished allows for customized staining.
- Plank Width: Wider planks create a more rustic look, while narrower planks offer a traditional appearance.
- Color and Texture: Consider the color and texture that best complements your interior design.
For more insights on selecting the right hardwood flooring, explore further insights here.
Preparing for Installation
Assessing the Subfloor
A solid subfloor is essential for a successful hardwood floor installation. It should be clean, dry, and level. Here are steps to ensure your subfloor is ready:
- Inspect for Damage: Repair any damages, such as cracks or squeaks, before installation.
- Check Moisture Levels: Ensure the subfloor is dry to prevent future issues like warping.
- Leveling: Use a leveling compound if necessary to achieve a flat surface.
Learn more about subfloor preparation in this detailed guide.
Acclimating the Wood
Acclimation is a critical step that allows the wood to adjust to the room’s temperature and humidity, minimizing expansion or contraction after installation. Follow these steps:
- Duration: Let the wood acclimate in the installation area for at least 48-72 hours.
- Environment: Maintain a consistent room temperature and humidity during acclimation.
Installation Process
Tools and Materials
Gathering the right tools and materials beforehand will streamline the installation process. Consider the following essentials:
- Moisture meter
- Flooring nailer or stapler
- Measuring tape and chalk line
- Power saw
- Flooring adhesive (if required)
Find additional information on tools and materials here.
Laying the Floor
The actual laying of the hardwood floor involves precision and attention to detail. Here’s a simplified process:
- Plan the Layout: Start laying the boards parallel to the longest wall.
- Nail or Glue: Depending on the subfloor and wood type, decide whether to nail or glue the boards.
- Stagger the Seams: Ensure that the seams between boards are staggered for a more natural look.
- Trim and Fit: Cut and fit the final boards along the walls, leaving a small expansion gap.
Read more about this topic here.
Final Touches and Maintenance
Once the installation is complete, the final touches will ensure longevity and enhanced appearance:
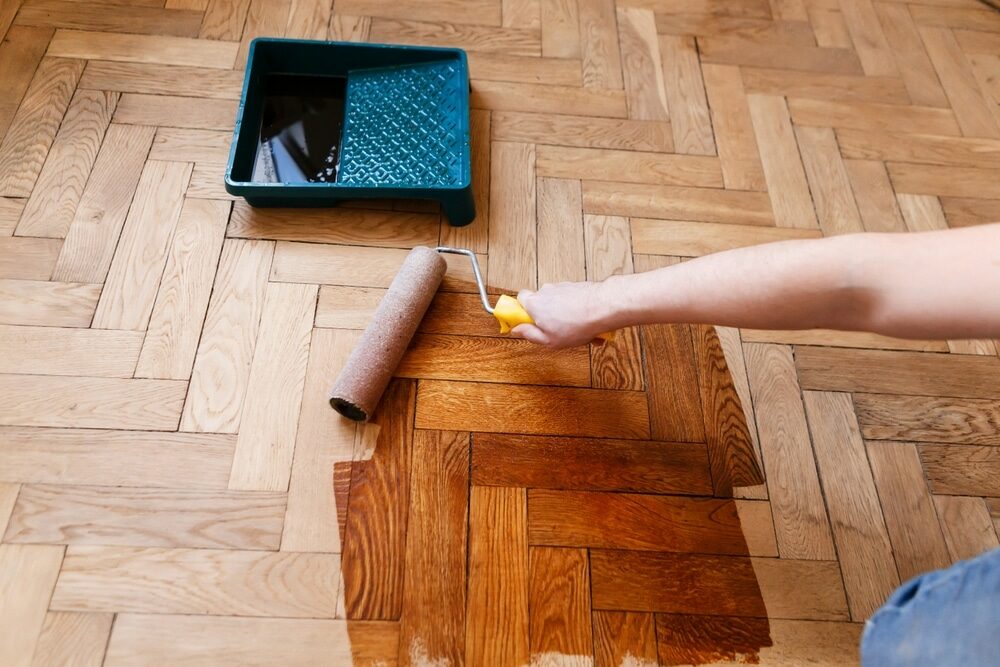
- Sanding and Finishing: For unfinished floors, sanding and applying a finish will protect the wood.
- Cleaning: Use a damp mop and specialized wood cleaners to maintain the floor.
- Regular Maintenance: Protect the floor from scratches by using furniture pads and avoiding high heels.
For more detailed information on floor maintenance, find additional information here.
By following these guidelines, hardwood floor installation can be a rewarding project that significantly enhances the appeal and value of your home. Whether tackling the task yourself or consulting professionals, a well-informed approach ensures a successful outcome.